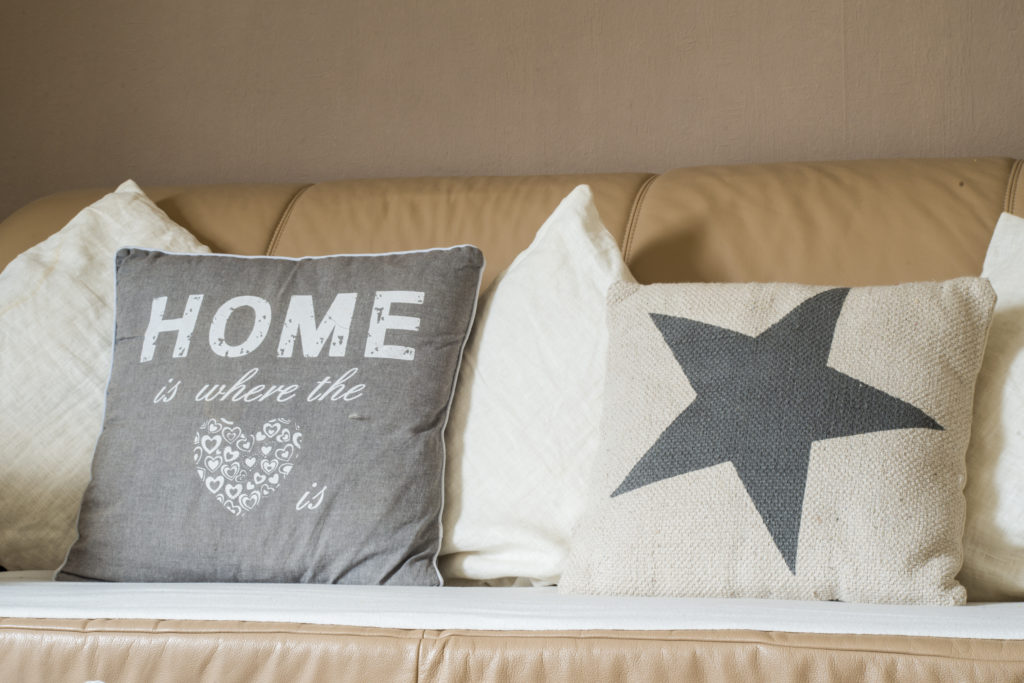
One of the easiest ways to update the look of any space is by changing the throw pillows, so can you imagine how exciting things would be if you can custom make your own? Pillows add color, texture and can define the look of your room so changing it every so often is a great way to turn things from boring to bright. I wrote several articles in the past with photos on how you can instantly change the look of your home with throw pillows but have never explored custom making them myself. That is why I find customizing pillows with printers like Imaging Spectrum, exciting. They make great gifts and what’s best is that it can be very affordable. The process is easier than you probably think. Once you do it once, you will be addicted to how simple it is and enthralled with all the possibilities at your fingertips. In the following guide you will learn what you will need to print images onto pillows yourself and the steps it involves.

What you will need
You probably already have much of the materials you will need in your home already. To print your own images onto any pillow you will need the following:
- An iron
- An ironing board
- A pillowcase
- A Printer
- A Computer
- Iron-on transfer sheets
That last item on the list is probably the only one you don’t already have. Iron-on transfer paper can be bought at your local craft store and even at some department and office supply stores.
The First Step
To get started you will need an image that you want to use for the project. Upload the image to your computer if it isn’t on it already and crop/enlarge it as you like (the size of your transfer paper and the size of the pillow you will be printing on will probably determine how large the image should ultimately be). Using your computer, you can even add text to the image if you like. Although if you do add text, be sure to mirror the image on your computer before printing so the words come out correctly.
The Second Step
Next you are going to load your iron-on transfer paper into your printer and print the image from your computer. Make sure the image comes out the size that you need it to be. It is a good idea to have a few spare iron-on transfer sheets handy just in case. They usually come in packs and are very affordable.
The Third Step
Once you have your image printed onto the iron-on transfer sheet, place your pillow case on the ironing board. You should have a specific idea of how you want the image orientated on your pillow beforehand. Then, carefully lay the transfer sheet image side down on the pillow case.
The Fourth Step
Now you can fire up your iron. This is the most delicate part of the process so be very careful to avoid burning yourself and to keep the sheet steady on the pillow case. Using medium heat, go over the image with the iron in gentle, circular motions. Just pretend you are ironing a delicate article of clothing. Pay close attention to the edges, making sure they are flat. It should only take about 30 seconds for the image to successfully transfer.
The Fifth Step
After ironing, let the transfer paper and pillow rest in place on the ironing board for a few minutes to cool off. Then, slowly and steadily peel the backing of the transfer paper off and voila! You have your very own customized pillow!

I recall doing our own iron transfering onto our shirts with my siblings when we were little girls and the thought of being able to create my own designs for the home now thrills me beyond imagination! It actually takes a few simple steps to come up with something personalized! If you are creative, you can even come up with your own hand illustrations or transfer your own family photos to step things up further. Hope you enjoy this simple DIY project! Please share your custom pillows with me on Instagram, and I will share them with my audience as well!
Like it? Pin It!


Leave a Reply